Qt Quick 3D - View3D Example
Demonstrates the use of View3D to show a scene from multiple cameras.
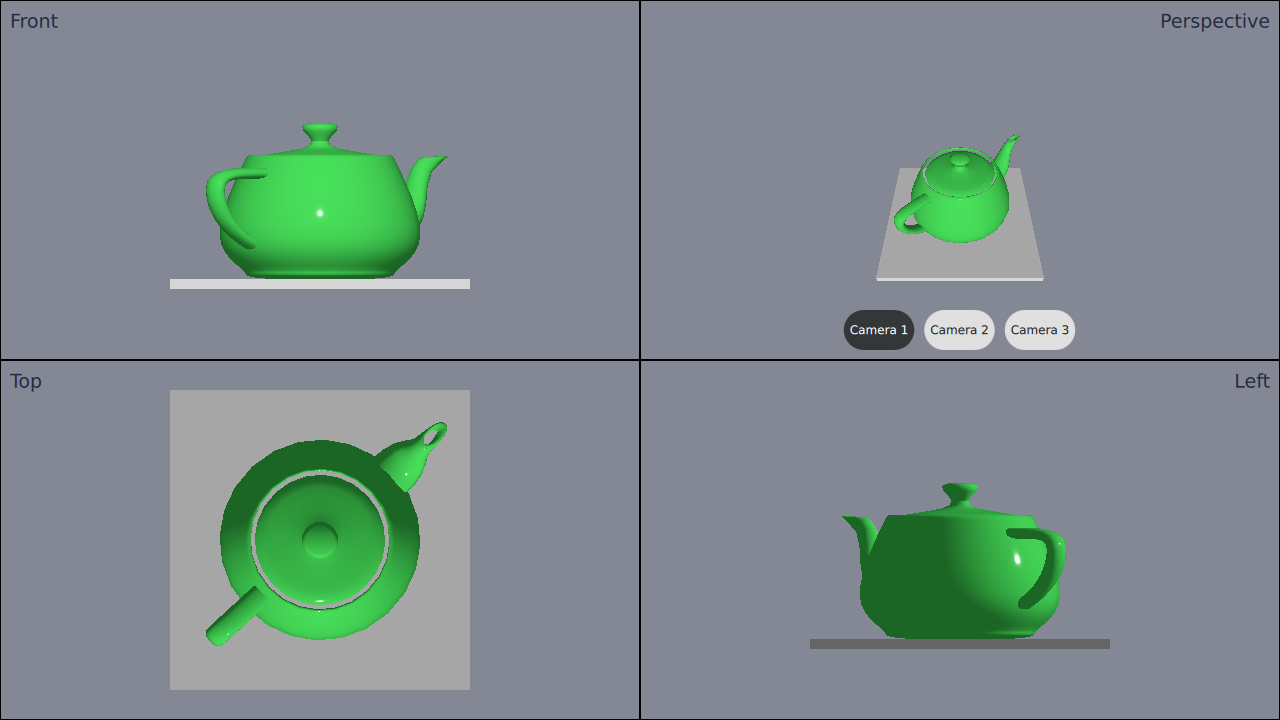
This example demonstrates using four separate View3Ds with different cameras in an application.
Defining the Cameras
First we define the cameras. We're going to define several different cameras, even though we will only add 4 views. We're doing this because we want to be able to switch the camera in one of the views.
The cameras have to be defined inside the root Node. This is how the cameras are defined:
 Node {
     id: standAloneScene
     ...
 // The predefined cameras. They have to be part of the scene, i.e. inside the root node.
 // Animated perspective camera
 Node {
     PerspectiveCamera {
         id: cameraPerspectiveOne
         z: 600
     }

     PropertyAnimation on eulerRotation.x {
         loops: Animation.Infinite
         duration: 5000
         to: -360
         from: 0
     }
 }

 // Stationary perspective camera
 PerspectiveCamera {
     id: cameraPerspectiveTwo
     z: 600
 }
     ...
 // Stationary orthographic camera viewing from left
 OrthographicCamera {
     id: cameraOrthographicLeft
     x: -600
     eulerRotation.y: -90
 }
 }
Adding the Views
After defining the cameras we can add the views. We divide the screen to four parts, and add views one-by-one like this:
 // The views
 Rectangle {
     id: topLeft
     anchors.top: parent.top
     anchors.left: parent.left
     width: parent.width * 0.5
     height: parent.height * 0.5
     color: "#848895"
     border.color: "black"

     View3D {
         id: topLeftView
         anchors.fill: parent
         importScene: standAloneScene
         camera: cameraOrthographicFront
     }

     Label {
         text: "Front"
         anchors.top: parent.top
         anchors.left: parent.left
         anchors.margins: 10
         color: "#222840"
         font.pointSize: 14
     }
 }
     ...
The top-right view has three buttons in it. The buttons can be used to switch the camera used in that view on the fly. The switching is done just by settings the camera property:
 RoundButton {
     text: "Camera 1"
     highlighted: topRightView.camera == cameraPerspectiveOne
     onClicked: {
         topRightView.camera = cameraPerspectiveOne
     }
 }
     ...
Files: